Catch Andrea Rice teaching at Wanderlust Stratton this summer! For tickets and more information, click here. Andrea is currently writing a book with Wanderlust Director of Content Lisette Cheresson, tentatively titled Season Alchemy: 52 Weeks of Yoga Wisdom, Practice, and Ritual, to be published in February 2020. For updates on the project, follow @seasonal_alchemy.
In the years since yoga first arrived on the scene in the U.S.—Pattabhi Jois’ Ashtanga method was brought over from India in the ’80s and embraced as a form of aerobic exercise—this whole Vinyasa thing has gotten a bit convoluted. Like a game of telephone, supposedly universal cues to direct vastly diverse Western bodies into homogenous shapes became passed down, watered down, misrepresented, and misinterpreted.
Well-intentioned teachers were taught in their 200-hour trainings to direct bodies (of all shapes, sizes, abilities, ages, limitations, hypermobile tendencies) to match the images that appeared in their instruction manuals, and adhere to the cues provided by their training school. We were told that what we learned was the way to do it, that it was correct, and most importantly, that it was safe. Yet somewhere down the line, these standard cues became muddied from their original intent. Though many teachers are learning to course correct, many training schools are continuing to pass on this problematic lineage that essentially, tries to “fix” the pose by reverse-engineering its biomechanics. Yes, we all want to do better as teachers, and we all want our students to practice safely. Which is why we all have to keep studying, evolving, and adapting accordingly to our increasingly multifaceted, heterogeneous demographics, and the ever-fluctuating needs of our bodies.
Here are 5 common misalignment cues that are commonly misunderstood, plus what teachers are really trying to say. There following are suggestions for a more biomechanically informed and anatomically sound practice, but are by no means intended as “the only way.” As always, there are many options available to you in a yoga practice.
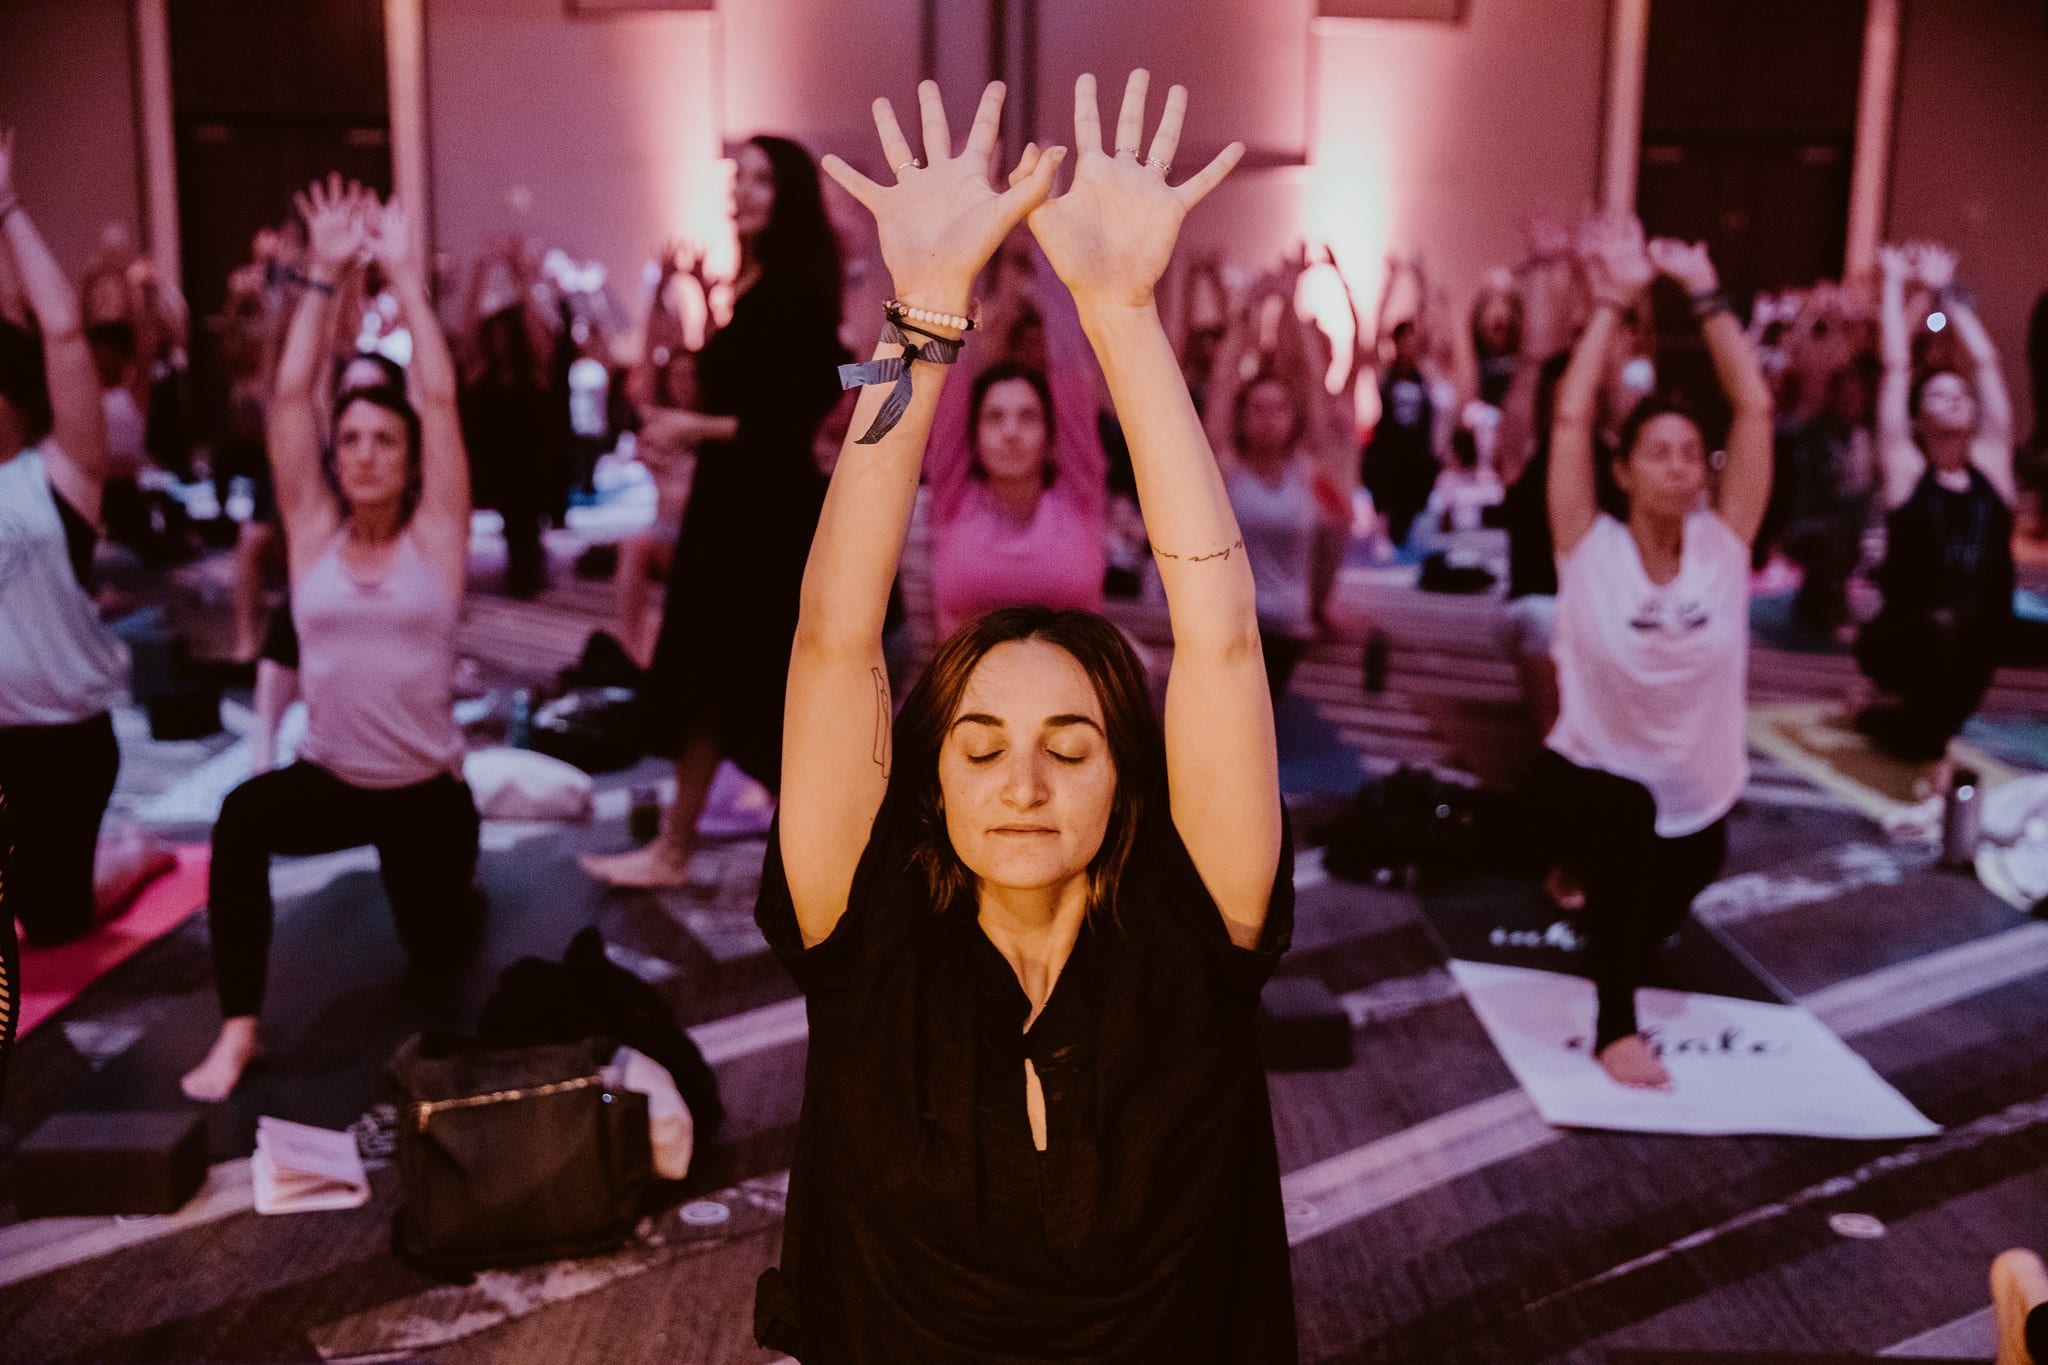
“Relax Your Shoulders”⟶ “Reach Your Arms Up and Wide As You Extend Your Shoulders”
My teacher, Alexandria Crow, creator of the Yoga Physics method, always makes me laugh when she references “Gary,” that guy we all know who is maybe trying yoga for the first time and looks totally stressed out, uncomfortable, and awkward. (For some bonus reading, Alex has a great post that debunks that whole “soften your ribs” thing.) “Gary” could have been the culprit for this one, since he was probably the one in the room with his shoulders tense and shrugged up by his ears when the teacher asked the students to lift their arms overhead. Most of the students probably did just that, but Gary, given he was a newbie to yoga and not in touch with his body, looked stressed out. “Relax your shoulders” was maybe directed at the Gary’s of the yoga landscape, and eventually became adopted as a cue to help practitioners stay relaxed.
What teachers really want their students to be doing is practicing shoulder extension, not jamming the shoulder blades down their backs while lifting their arms overhead. This can lead to injury (ever wonder why so many yogis complain of shoulder pain or injury?) and is not anatomically even remotely functional. It may look pretty, but we’re not gymnasts presenting to the judges after landing a perfect routine. We’re just practicing yoga and trying to stretch and move our bodies in ways that make intuitive and anatomical sense.
“Tuck the Tailbone”⟶ “Maintain A Neutral Spine”
Did you know that you can’t really move your tailbone? Or that your tailbone is not actually one solid bone, but a three-to-five part bone structure held together by fused or partially fused fibrous joints and ligaments? The tailbone, or coccyx, indeed has some capacity for movement, but it’s working in conjunction with the sacrum, which connects to the coccyx through the sacrococcygeal joint. You can direct your coccyx to move either slightly forward into a tucked position of spinal flexion, or backward to draw the spine into extension. But it’s not just your tailbone moving, it’s also your pelvis, hips, and legs working together.
That aside, it is unwise to tuck your tailbone under since it shortens the psoas muscle. This is problematic because most of us, on account of sitting too much, already have shortened psoas. This tugs not only at our hips and lower back and increases tightness there, but also all the way up to our diaphragm at vertebrae T12, which can increase shortness of breath and contribute to feelings of anxiety. As always, retaining a neutral spine is best in any shape that is not deliberately asking for spinal flexion (ie: Child’s Pose) or spinal extension (ie: Bridge Pose or any other backbend).
This cue may have originated from students who were overextending their spine and sticking their butts out, and so by asking them to “tuck” they can direct the student to draw their spine back to neutral. Unfortunately the intention behind this cue led to the over-tucking into spinal flexion that we may commonly see a group class setting today.
“Heels to the Floor” ⟶ “Keep A Slight Bend In Your Knees”
If only we could make our Downward Dog look just like that perfect upside-down V-shape in the picture! Maybe today I won’t get my heels to the ground…but one day…maybe I will. This is not something to aspire to. Unless you have really long legs and natural flexibility in your hamstrings (which is not always a good thing; more on that in a second) that day when you finally get your heels to the ground may never come. Yet we continue to strive for these crowning moments of achievement in a practice; whether it’s “one day” or the “full expression” or “advanced.” For most of us, forcing our heels to the floor probably doesn’t feel that great. We bring our spine into slight flexion and jam our shoulders up by our ears instead of allowing for flexion (which can happen with more ease when the spine is neutral). So we wind up looking more like an upside-down U-shape and feeling less-than because we can’t access what we’re being told to do.
Additionally, some experts will argue that stretching our hamstrings has little to no benefit for the muscles themselves, since we need our posterior (also called extensor) chain to be strong, and not stretched out. A 2017 HuffPo Life article argues that, “Stretching the hamstring muscles will not make them longer because the tension or contraction of a muscle is under control of the nervous system. You simply cannot make a muscle longer by pulling on it.”
Tight hamstrings tend get a bad rap, and in general, flexibility is supposed to be helpful, not potentially harmful. This could be in the most case scenario sense, but not in all cases. The article also points out that the muscles of the back body help keep the body upright for normal activities like walking and running. Turns out strong and functional back and gluteal muscles can mean that straightening the knees and trying to get heels to the floor is probably not an option.
“Shoulders Over Wrists, Hips Stacked Over Knees”⟶ “Hands Wide of Your Elbows, Knees Just Behind Your Hips”
A tabletop position is pretty intuitive and straightforward, if not common sense. Instead of just inviting a student to find their way to hands and knees, yoga teachers often default to this arbitrary alignment. Stacking your shoulders over your wrists does not accommodate for a carrying angle, however. Stand up and look at yourself in a mirror: where are your arms? Are they glued by your sides, or are you forearms extended out wide and away from your hips? To whatever degree that may be—and typically your forearms and hands are about 5 to 15 degrees away from your body—this is known as your carrying angle and you should accommodate your hand placement on your mat accordingly.
The best practice for adapting to your carrying angle is to lift your arms with your palms face up to the heads of your shoulders. Then, “forklift” your hands out in front of you at shoulder height and allow your shoulder blades to slightly protract apart, which will help with shoulder extension (see: “Relax Your Shoulders”). From here, float your arms all the way up to frame your face, just in front of your ears (or in some cases, framing your ears, so as to not create tension).
If you’ve ever had discomfort in your arms or elbows during or after practice, not accommodating for your carrying angle could help explain why. If your carrying angle exceeds 15 degrees (you can learn your exact measurement by using a goniometer), this is known as “cubitus valgus,” which can be a hypermobile tendency that is either genetic or trauma-informed. As for the ‘ole “hips over knees,” this actually shortens your spine (disclaimer: you can’t actually change the length of your spine, but what you can do is compromise its integrity), and does not allow for a neutral C-shape curve in the lumbar.
“Navel to Spine” ⟶ “Draw Your Abdominal Wall Into Your Midline”
This is a funny one. Here’s the truth: Sucking in your belly button does not engage your core. And drawing your navel to your spine actually destabilizes your abdominal muscles. In fact, your core is always engaged in some way. If it wasn’t, you wouldn’t have the ability to sit upright (unless you’re like the author of this article and have had extensive abdominal surgery). So how best to actually engage our core to help stabilize our spine and perform certain challenging asanas, like Crow Pose? First, grab a block.
As the esteemed Alex Crow tells Yoga Journal,
Use the muscles between your legs to squeeze the block while you also squeeze the outer edges of your hips into the block. These hip and leg efforts create a lot of stability for your pelvis and thus lumbar region. Now add the muscle that wraps around your waist. If you cough with your hands on your waist you’ll find it. Think of that muscle pulling in toward the midline all the way around your waist as if you were cinching a belt. It won’t move your spine it will simply make it more stable. And lastly you can think of the muscles right above your pubic bone drawing slightly up towards your navel.
This is a learned, skillful action that, with time, you’ll know how to achieve that same engagement without the block.
One last note on the navel-to-spine phenomena: When it comes to twisting, drawing your navel into your spine does not magically detoxify and wring out your organs either—our organs are pretty intelligent and can naturally detoxify just fine on their own. What’s factual is that restful shapes such as supine spinal twists can aid in relaxation by activating the parasympathetic rest-and-digest branch of the nervous system. This can help facilitate digestion, but because the body is ease, not because you’re cranking your torso around the axis of your spine and “compressing your organs.”
—
 Andrea Rice is a writer, yoga and meditation teacher, and Wanderlust Festival presenter. Her articles and essays have appeared in The New York Times, Yoga Journal, The Wanderlust Journal, NY Yoga + Life, mindbodygreen, and SONIMA, among other publications. She has been teaching yoga since 2010, first in Brooklyn and Manhattan, and now in Raleigh, NC, where she currently resides. She is also co-authoring a book about the application of seasonal rhythms and yoga philosophy to modern life, which will be published by New Harbinger in early 2020. Connect with Andrea on Facebook, Instagram, and Twitter, and sign up for her quarterly newsletters on her website: www.andreariceyoga.com.